previous page__: **Animating on Application Start-up
==== Animating Object on Click ====
All the previous animations are automatic and do not have any relation with
the user's actions.
=== Title go back ===
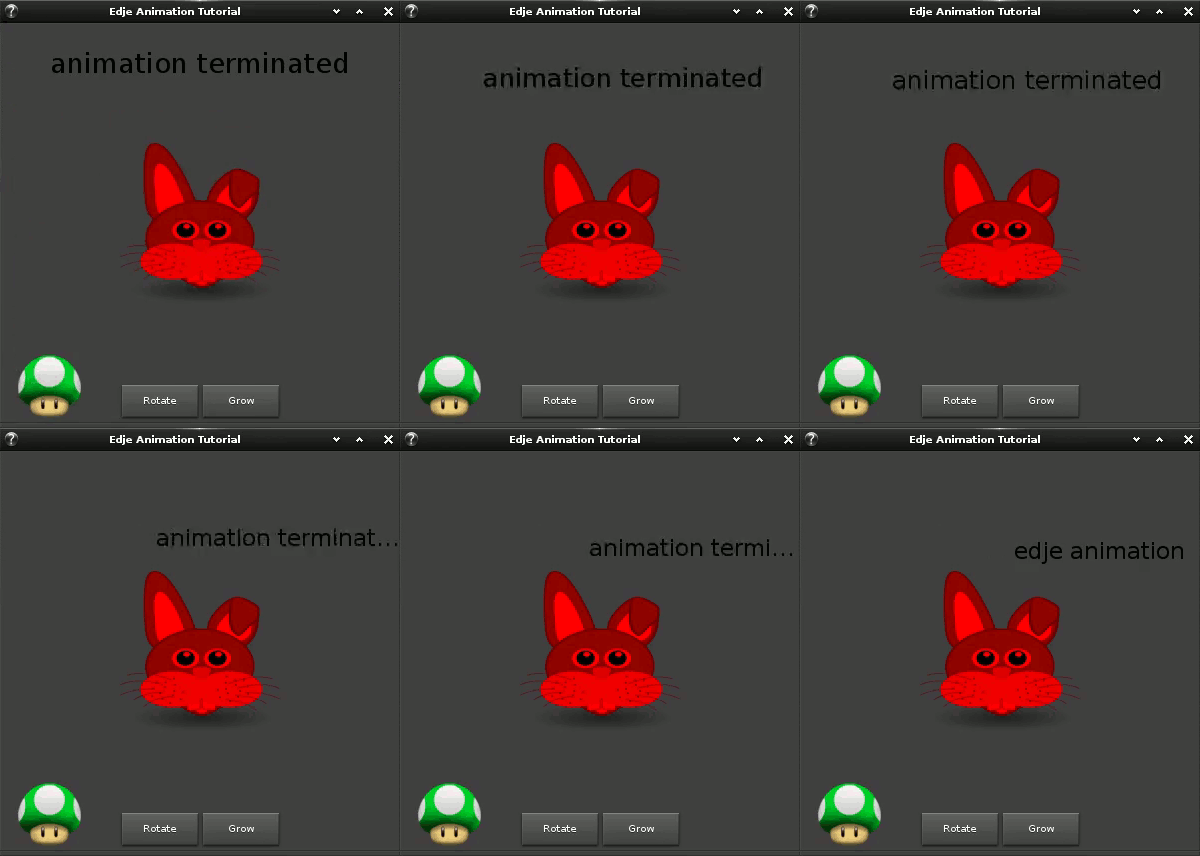
Next animate a part by clicking on another one. Make the
title restore its default aspect when clicking on the small image.
 The parts and the states are already defined. The animation goes back to the
default state, there is no need to add any parts or states: only add a program
which makes the transition when clicking on logo part.
<code c>
Make the title go back to normal
program
{
name: “animation,normaltitle”;
source: “image”;
signal: “mouse,clicked,*”;
action: STATE_SET “default” 1.0;
target: “txt_title”;
transition: LINEAR 0.5;
}
</code>
This program starts when the application receives the signal
mouse,clicked,* (any button of the mouse is clicked) from the part called
image, (source). It performs the STATE_SET action and sets the default
state on the target txt_file part with a LINEAR transition.
When clicking any mouse button on the small logo, the title goes back to its
original state.
=== Rotating Parts ===
Next add two more buttons to the application and create programs to animate a
target.
It is possible to create a button with Edje from scratch, but to save time,
the SWALLOW part is used in this example to store Elementary widgets.
First create the SWALLOW parts, and then the Elementary widgets in the
.c file.
<code c>
Container for the rotate button
part
{
type: SWALLOW;
name: “btn/rotate”;
description
{
state: “default” 0.0;
rel1.relative: 0.30 0.9;
rel2.relative: 0.50 0.99;
}
}
</code>
This part is called btn/rotate, it only has a SWALLOW type and a
default state with its position being on the bottom left of the screen.
<code c>
Container for the grow button
part
{
type: SWALLOW;
name: “btn/grow”;
description
{
state: “default” 0.0;
rel1.relative: 1.02 0;
rel1.to: “btn/rotate”;
rel2.relative: 2.02 1;
rel2.to: “btn/rotate”;
}
}
</code>
This second SWALLOW part is very similar to the first one. It is placed
relatively to btn/rotate, in order to remain next to it.
Next create the actual widgets. This is done in the .c file and is very
similar to what is done for the buttons in the first chapter.
This code is added in elm_main().
<code c>
Creation button in the app window
button = elm_button_add(win);
elm_object_text_set(button, “Rotate”);
Add the button to the edje layout container called “btn/rotate”
elm_object_part_content_set(layout, “btn/rotate”, button);
evas_object_show(button);
Creation a up button in the app window
btn_up = elm_button_add(win);
Add the button to the edje layout container called “btn/grow”
elm_object_text_set(btn_up, “Grow”);
elm_object_part_content_set(layout, “btn/grow”, btn_up);
evas_object_show(btn_up);
</code>
In the default Basic EDC UI Application, the Edje layout is loaded by default.
Create two Elementary buttons and add them to the SWALLOW containers,
without having to setup sizes or positions as this is done in the SWALLOW
container.
Note that the part name is very important because it is used to be merged the
Elementary widget and the SWALLOW part.
When the buttons placed and set, create the animation target. It is done in
the EDC file.
Add the animation target part.
The part initialization and the default state:
<code c>
The animation target
part
{
name: “atarget”;
type: IMAGE;
Default state
description
{
state: “default” 0.0;
image { normal: “image2.png”; }
color: 255 0 0 255; /* red */
rel1 { relative: 0.3 0.3; }
rel2 { relative: 0.7 0.7; }
}
}
</code>
This part is an image displaying a big logo, centered on the top of the
screen.
Create a state to change the color and add the map statement.
<code c>
The rotate state
description
{
state: “rotate” 0.0;
inherit: “default” 0.0;
map
{
Enable Map on the part
on: 1;
Enable smooth rendering
smooth: 1;
Enable perspective
perspective_on: 1;
Apply rotations on the part
rotation.x: 0;
rotation.y: 0;
rotation.z: 0;
}
color: 0 255 0 255; /* green */
}
</code>
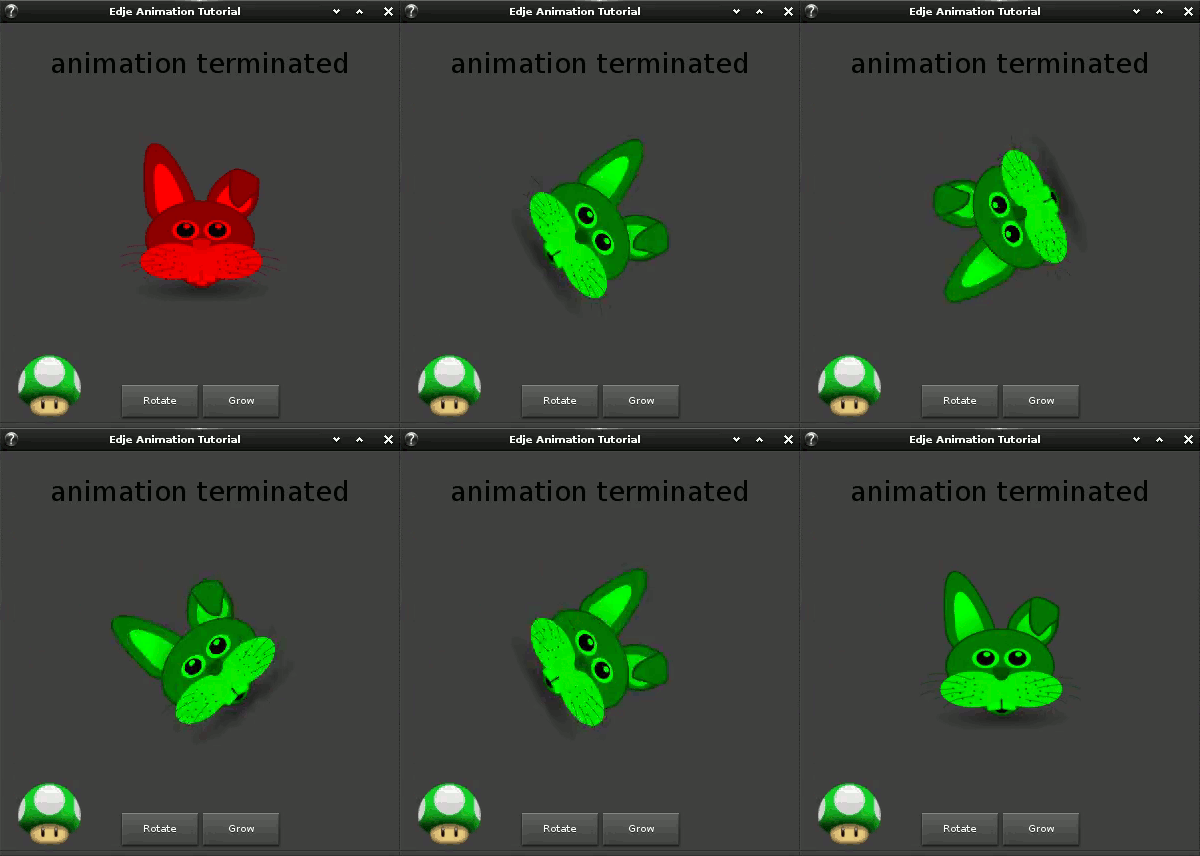
This part changes the color to green and defines the map. This statement
makes rotations possible on an Edje part. Rotations are done around the x,
y or z axes. In this example, the map is enabled and a 0° rotation is applied
around each axis.
Add a state with a rotation around the z axis of 360°.
<code c>
description
{
state: “rotate” 1.0;
inherit: “rotate” 0.0;
map.rotation.z: 360;
}
</code>
This state inherits from the default state parameters and add a rotation
around the z axis.
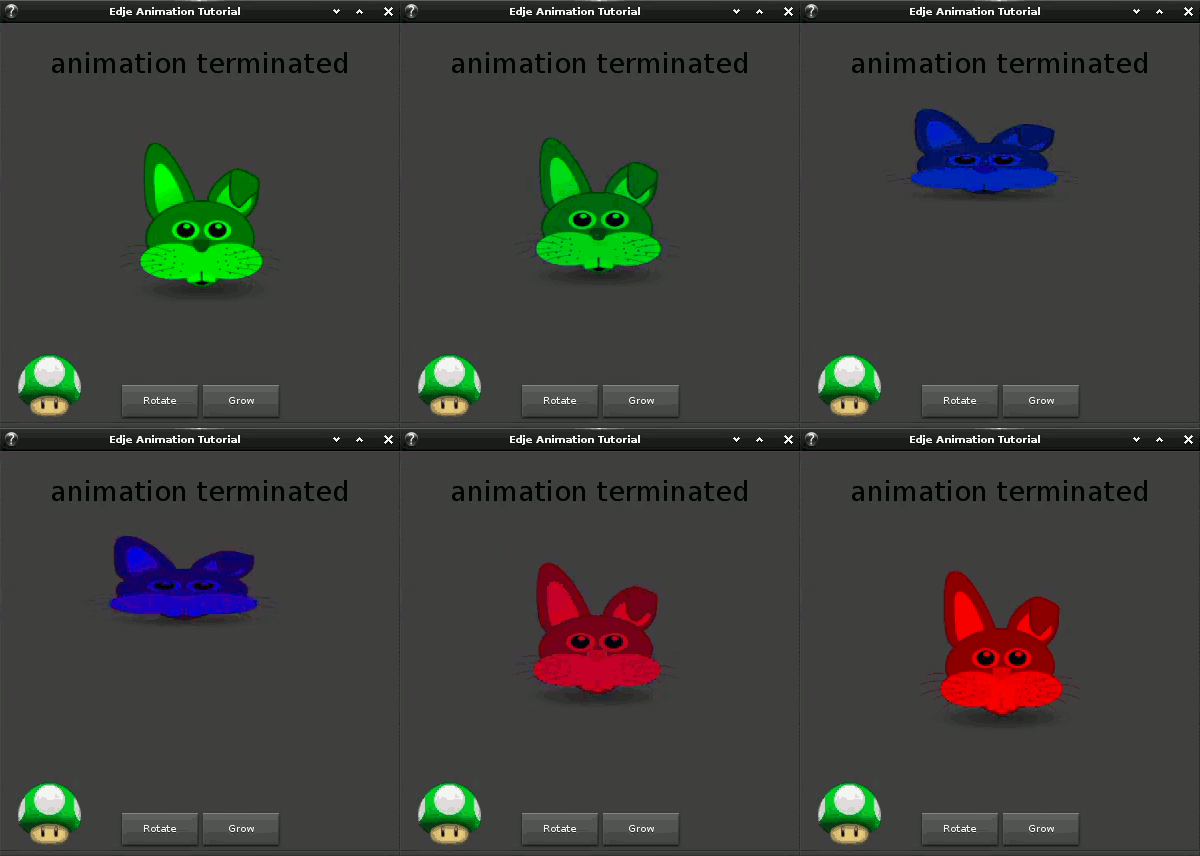
Finally add a state to the other button animation grow. Change the size of the
animation target and add an offset.
<code c>
The grow state
description {
state: “grow” 0.0;
inherit: “default” 0.0;
color: 0 0 255 255; /* blue */
rel1
{
relative: 0.2 0.2;
offset: 0.3 0.3;
}
rel2
{
relative: 0.7 0.4;
offset: 0.3 0.3;
}
}
</code>
The last step is to create the programs to make all these states animate.
 To make the rotation animation smoother, create and chain several
 programs
with different durations.
First create the main one: it goes from the default state to the rotate 0.0
state in 0.2 seconds.
Note that the states are all named the same way (rotate) but not with the same
version. This version allows you to have more than one state with the same
name, in fact the actual name of the state is the name plus the version.
<code c>
Change the color of target to green
program
{
name: “rotate,target”;
source: “btn/rotate”;
signal: “mouse,clicked,*”;
action: STATE_SET “rotate” 0.0;
target: “atarget”;
transition: SIN 0.2;
after: “rotate,target,2”;
}
</code>
The program starts when the btn/rotate part is clicked with any mouse
button. When the animation ends, it calls the next one called
rotate,target,2.
<code c>
Rotate 360°
program
{
name: “rotate,target,2”;
action: STATE_SET “rotate” 1.0;
target: “atarget”;
transition: SIN 0.7;
after: “rotate,end”;
}
</code>
This program sets the part state to rotate 1.0 in 0.7 seconds, and when done
calls the next one rotate,end.
<code c>
Go back to the normal.
program
{
name: “rotate,end”;
action: STATE_SET “rotate” 0.0;
target: “atarget”;
transition: LINEAR 0.2;
}
</code>
rotate,end is the last program of the rotation effect: it sets the state
to rotate 0.0 very fast.
The last program of this example is the grow effect, it switches from one
state to another.
 <code c>
Grow the target and go back to normal state
program
{
name: “grow,target”;
source: “btn/grow”;
signal: “mouse,clicked,*”;
action: STATE_SET “grow” 1.0;
after: “go,default”;
target: “atarget”;
transition: SINUSOIDAL 1.0;
}
</code>
It starts when the
 btn/grow part is clicked, it goes from the current
state to grow 1.0 in one second. It then calls the go,default program. In
this program, both size and color change during the transition.
The go,default program sets the status back default for the animation
target.
<code c>
Go back to normal (default) state
program
{
name: “go,default”;
action: STATE_SET “default” 1.0;
target: “atarget”;
transition: SIN 1.0;
}
</code>