EDI
EDI is a development environment for Enlightenment and EFL based applications. It is especially useful when developing complex, multifunctional applications and provides all the tools and features you need.
EDI comes with syntax highlighting, auto suggestion for C files and headers, and tools for building, testing and running your application.
This visual guide will show you the main elements of the interface and provide descriptions of what they do.
You can download EDI from here.
![]()
Using EDI
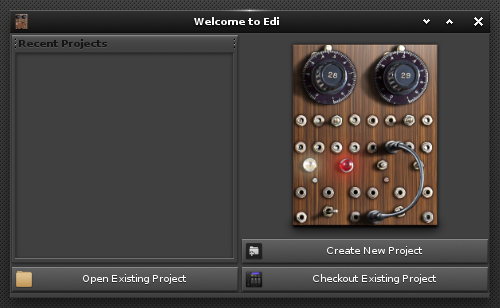
When you run EDI it will ask you whether you want to open an existing project, check out a project (as in from a git version control repository), or start a new one. As the first two are self-explanatory and ultimately lead to the same place, let's examine the third, which is arguably more complex.
Starting a New Project
In EDI's startup screen, press Create New Project to start the project-creation assistant.
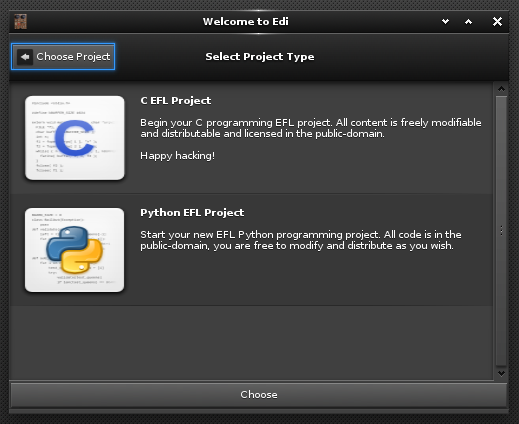
Choose type of project (C or Python). Choose C for now.
Fill in project details:
The Parent Path is the folder your project folder will reside in.
The Project Name is self- explanatory, but bear in mind, as the name will also be used as the name of the folder where your code resides, you should avoid special characters and spaces- Something like Calculator_and_Graphing would be fine, but Calculator & Graphing would not.
The Project URL can be CVS, git, or SVN repository, thus allowing you to use version control and sharing your code with other developers.
The Creator Name is the name of the main developer or team creating the software..
The Creator Email field would contain your email.
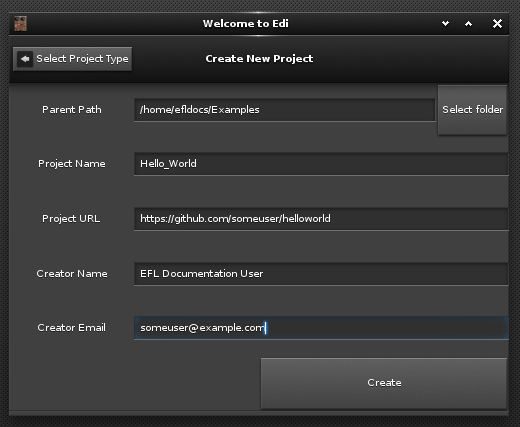
After filling out the fields in the dialog, click Create.
The New Project
EDI populates a new project with essential files and directories, including data/, doc/ and src/ directories, README files, Makefiles and so on. If this seems intimidating, bear in mind EDI is designed for creating complex, multi-part projects. If your project is a small, one window app, creating a new project using EDI may be a bit of an overkill.
EDI's main interface contains two main panes. On the left you have a view of the project's files and directories. Click on a file and it will open up in the main workspace pane on the right. Click on another file and it will open in a new tab, allowing you to easily skip between related files.
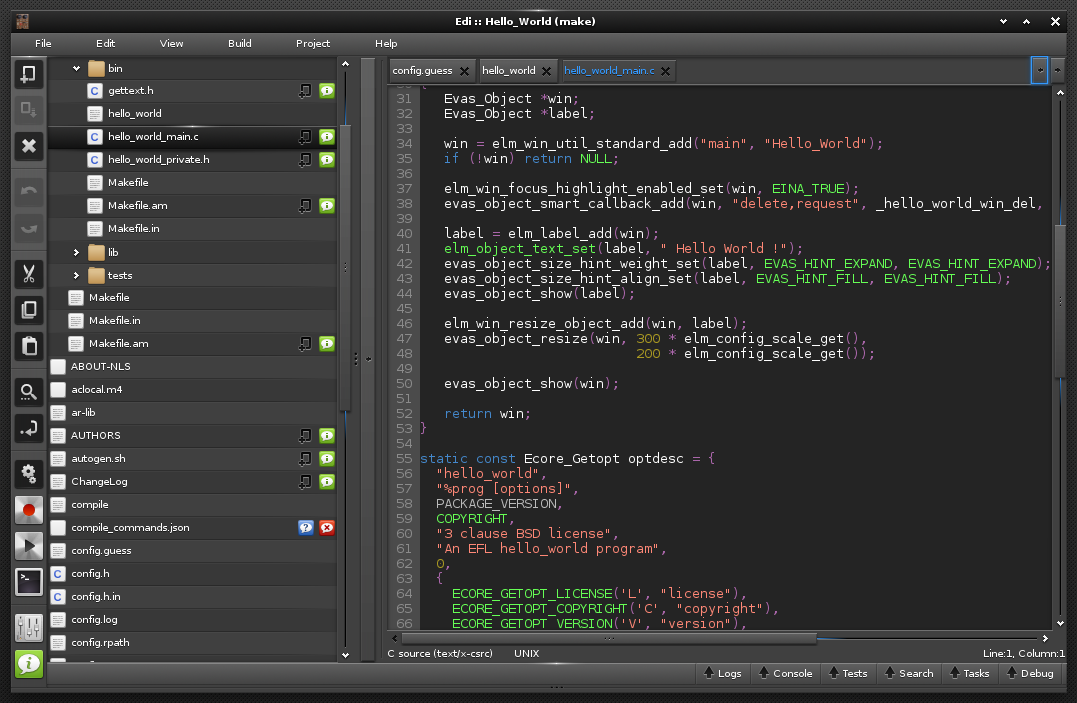
If you need to work on a file while examining the contents of another, click on the View menu and choose New Panel to split the workspace vertically down the middle. If you want to examine one part of a file while you work on a different part of the same files, choose Split View to split the workspace horizontally.
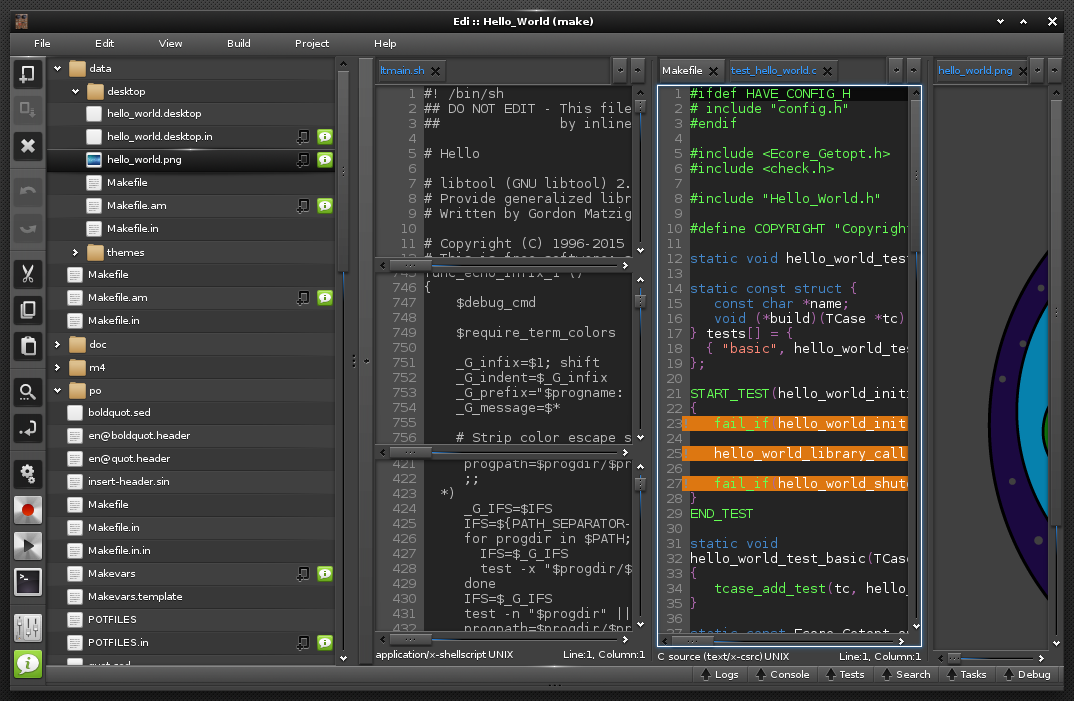
On the far left there is a toolbar containing shortcuts to the most useful tools. From top to bottom:
The New file, Save, Close file, Undo, Redo, Cut, Copy, and Paste buttons behave as they would in any other application.
The Search and Replace button lets you search for a string within the file shown in tha active pane.
You can use Go to line to moves the cursor to the designated line.
The Build button configures and compiles the project's source code to create executable programs.
The Test button builds and runs the project's tests.
The Run button executes the pre-compiled application.
The Debug button opens the debug console (see below). Use the bottom line to input your debug instructions. You can choose the debugger and runtime file you want to use pressing the Settings button (see below) and choosing the Builds from the pop-up dialog.
Settings allows you configure several aspects regarding your project, such as the font to use in the editor, the version control repository to save to, and the debugger (by default gdb) you can use to examine and test your code.
The About button shows information about the authors of EDI.
Most of these features are replicated under the drop-down menus running across the top of the window. However, the menus contain more utilities than available from the toolbar. The Project menu, for example, contains utilities to interact with a version control repository.
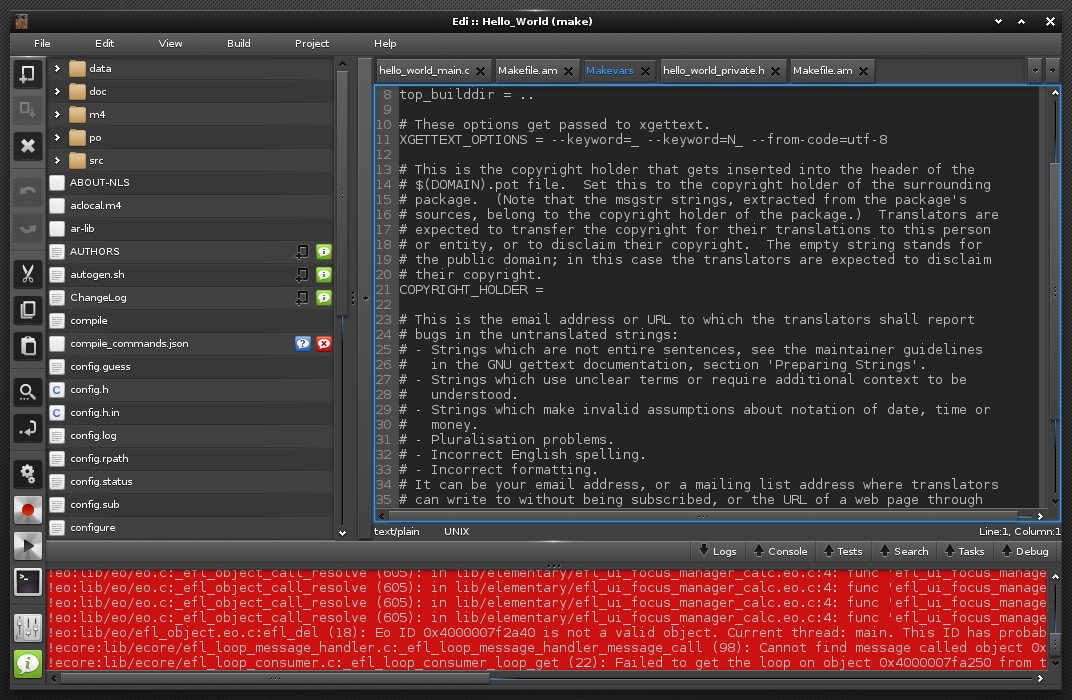
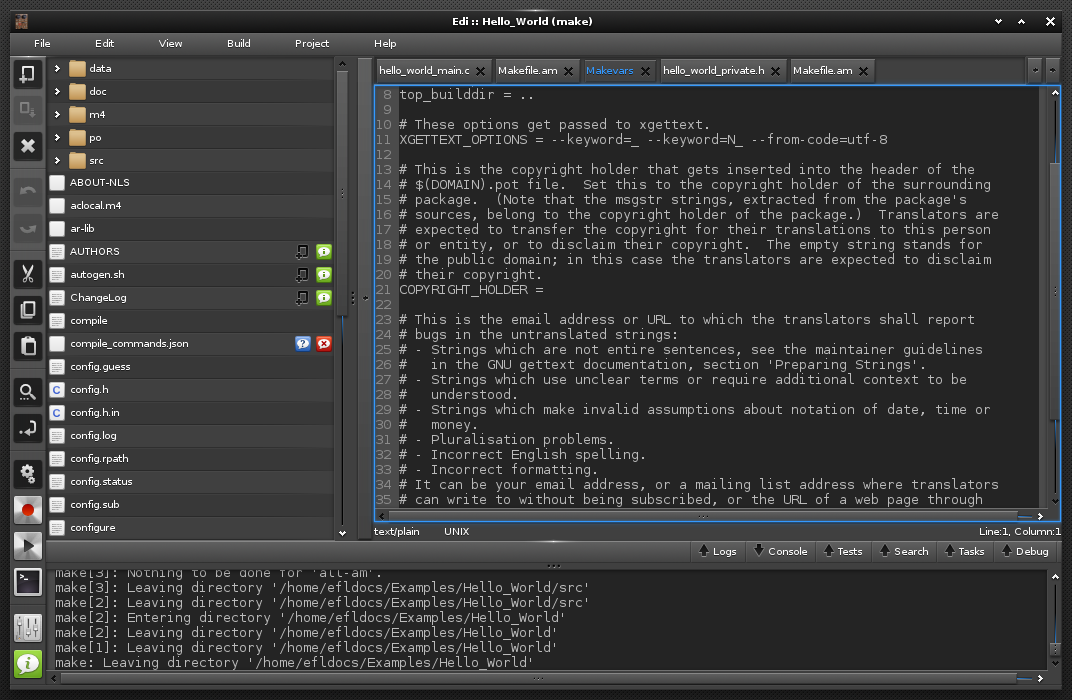
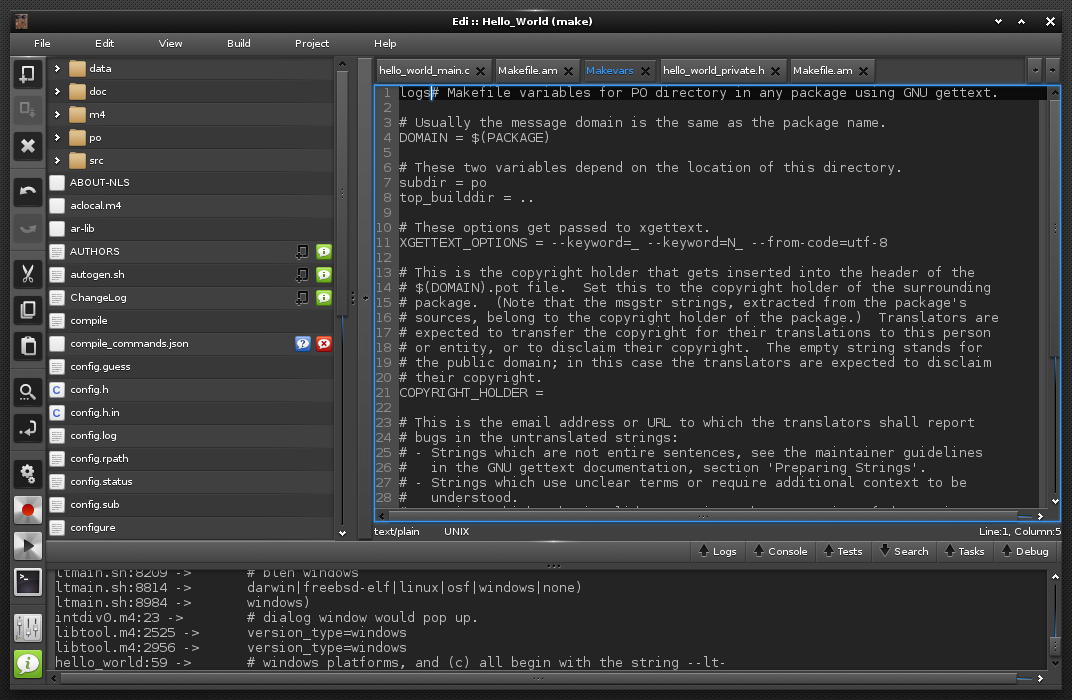
Along the bottom of the window, you will find a line of buttons that, if pressed, will open a third panel with the following utilities:
- The Logs panel shows the contents of the project's logs.
- The Console shows the output of the build commands.
Tests shows the output from compiling and running the project's tests.
The Search panel shows the results from clicking Edit in the menu and then selecting Find and entering a query. This find feature searches for strings in files throughout the whole project. It is similar to grepping recursively through all the files in the project. You can click on the results shown in this panel and they will open in the main work area, with the cursor on the line the string was found on.
- Tasks shows all the lines containing the words TODO or FIXME in your files. You can click on any file found here and it will open in the main work area.
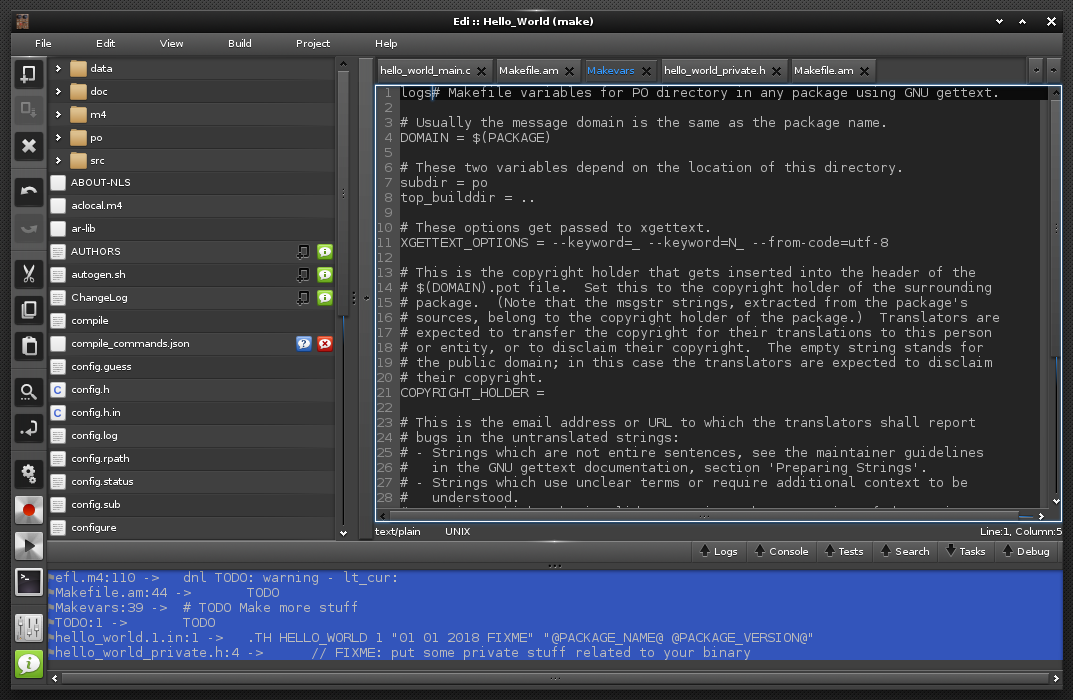
- The Debug panel allows you to input debugging commands and shows the results.